Your wedding cards hold more than just congratulatory messages – they’re precious memories from one of life’s most important celebrations. We understand how overwhelming it can feel to decide what to do with dozens of beautiful cards after your big day ends.
Instead of letting these heartfelt wishes gather dust in a box, we’ve discovered countless creative ways to transform them into meaningful keepsakes you’ll treasure forever. From elegant shadow boxes to personalized memory books, there are surprisingly simple methods to preserve these special sentiments.
Whether you’re a crafty DIY enthusiast or prefer professional preservation options, we’ll show you how to turn your wedding cards into stunning displays that celebrate your love story. These keepsake ideas not only honor the thoughtfulness of your guests but also create lasting reminders of the joy and support that surrounded your wedding day.
Transform Wedding Cards Into a Beautiful Memory Book
A memory book preserves wedding cards in an organized format that tells your unique love story. We can create a lasting keepsake that showcases the heartfelt messages and beautiful designs from your special day.
Create a Chronological Scrapbook Album
Chronological organization helps us relive the wedding journey from engagement to honeymoon. Start by sorting cards into categories: engagement congratulations, bridal shower wishes, wedding day messages, and post-wedding thank you notes.
Purchase a large scrapbook album with acid-free pages to prevent yellowing over time. We recommend albums with at least 50 pages to accommodate multiple cards per spread. Mount cards using photo-safe adhesive or corner tabs to avoid permanent damage.
Label each section with decorative headers indicating the time period. Include small calendar stickers or handwritten dates to mark when each card was received. This approach creates a timeline of love and support throughout your wedding journey.
Design Themed Memory Pages by Card Type
Themed pages group similar cards together for visual impact and easy browsing. Create separate sections for family cards, friend messages, coworker congratulations, and cards from wedding vendors like florists or photographers.
Design each themed section with coordinating decorative paper that matches your wedding colors. Use different layout styles for variety: some pages with single large cards, others with multiple smaller cards arranged in collages. We suggest leaving white space around each card to prevent overcrowding.
Add themed embellishments like ribbon borders for family pages or metallic accents for formal cards. Consider using clear page protectors for cards with special textures, foil details, or unique shapes that need extra protection.
Add Personal Notes and Wedding Day Memories
Personal annotations transform a simple card collection into a meaningful memoir. Write brief notes next to each card explaining your relationship with the sender or special memories you share together.
Include wedding day details alongside the cards: venue programs, pressed flowers from your bouquet, fabric swatches from your dress, or photos of the gift each card accompanied. These additions provide context and help you remember the complete story behind each message.
Create small pockets using decorative paper to hold loose items like confetti from your send-off or napkins from your reception. We can also add QR codes that link to video messages or photos from guests, bridging traditional keepsakes with digital memories.
Display Wedding Cards in Shadow Boxes and Frames
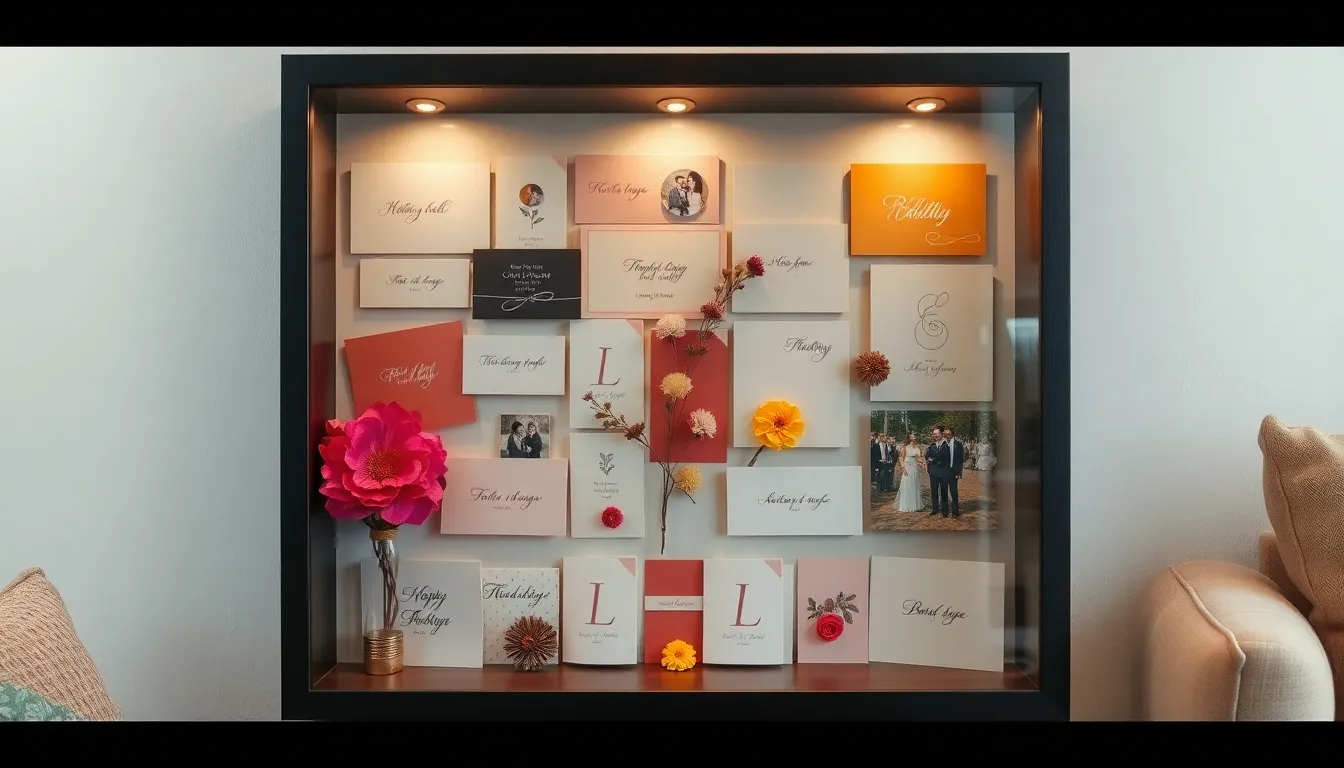
Shadow boxes and frames transform your wedding cards into stunning visual displays that showcase your special memories year after year.
Create Multi-Card Shadow Box Arrangements
Multi-card shadow boxes let us display several cards together in one elegant piece. We can arrange cards from different wedding events like the ceremony, reception, and bridal shower in a single deep frame using layered positioning. Placing cards at varying depths creates visual interest while allowing us to read multiple messages at once.
Strategic card placement helps us tell our wedding story chronologically. We position the most meaningful cards from parents or the wedding party in prominent front positions. Background cards from extended family and friends fill the remaining space beautifully. This layered approach gives us a complete view of all the love and support we received.
Color coordination enhances the overall visual impact of our shadow box display. We group cards with similar color schemes together or alternate between light and dark cards for contrast. Adding small wedding mementos like dried flowers or ribbon pieces between the cards creates additional depth and personal touches.
Frame Individual Special Messages
Individual framing highlights the most treasured messages from key people in our lives. We select cards with particularly meaningful handwritten notes from parents, grandparents, or the wedding party for this special treatment. These framed pieces become focal points in our home that guests always notice and admire.
Matting techniques elevate the presentation of each framed card significantly. We use acid free mats in colors that complement our home decor while ensuring the card remains the centerpiece. Double matting with contrasting colors adds professional polish to our display.
Strategic placement throughout our home keeps these special messages visible daily. We hang framed cards in hallways, bedrooms, or living areas where we’ll see them regularly. Grouping several framed cards together creates a gallery wall effect that tells our love story through the words of others.
Design Rotating Display Cases
Rotating display cases offer a ever-changing way to showcase our entire card collection without taking up wall space. We can design or purchase a rotating case that holds multiple cards while allowing us to spin through different messages throughout the year. This method keeps all our cards easily accessible without handling them directly.
Seasonal rotation keeps our display fresh and interesting for both us and our visitors. We feature different sets of cards during various times of the year, such as anniversary months or holidays. This approach ensures we regularly revisit all the beautiful messages we received.
Protection features in rotating cases preserve our cards from dust, sunlight, and handling damage. We choose cases with glass or acrylic fronts that protect the cards while maintaining visibility. LED lighting inside the case can illuminate the cards beautifully while using low heat bulbs that won’t cause fading over time.
Repurpose Wedding Cards Into Home Decor Elements
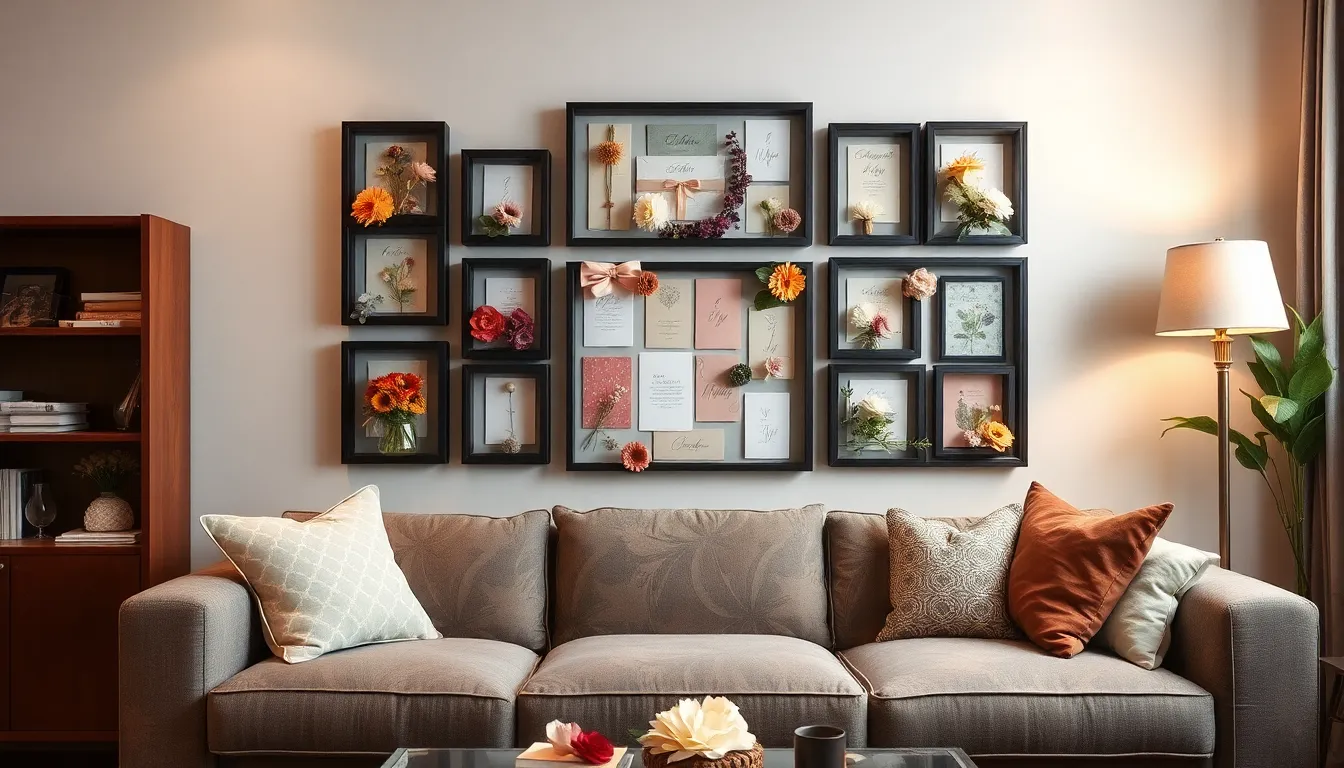
Transform your wedding cards into stunning home decor pieces that’ll bring warmth and personal meaning to your living spaces. These creative approaches help you honor your guests’ thoughtful messages while creating beautiful functional art.
Turn Cards Into Wall Art Collages
Create stunning wall art by arranging your most visually appealing wedding cards in shadow boxes or large frames. We recommend selecting cards with complementary colors and meaningful messages to showcase the variety of greetings you received. Position them in an overlapping pattern or grid formation to create visual interest and depth.
Enhance your collage by adding lightweight ribbons, pressed flowers from your bouquet, or small wedding mementos between the cards. This layered approach creates dimension and tells your wedding story more completely. Consider using a neutral background fabric or decorative paper to unify the display and make the cards pop.
Mount your finished collage in living rooms, bedrooms, or hallways where guests can appreciate both the artistic arrangement and the sentimental value. These personalized wall pieces serve as conversation starters and daily reminders of your special day.
Create Decorative Garlands and Banners
Cut your wedding cards into hearts, circles, or squares to form charming garlands that add festive touches throughout your home. String these shapes together using twine, ribbon, or decorative cord in colors that complement your home’s aesthetic. We suggest varying the sizes and patterns to create visual rhythm along the length of your garland.
Hang these personalized banners in entryways to greet guests with wedding memories, or drape them around doorframes and windows for year round celebration. Kitchen and dining room displays work particularly well since these spaces naturally gather family and friends.
Consider creating seasonal versions by selecting cards with appropriate colors or messages for different times of year. This approach lets you rotate your displays while keeping your wedding memories fresh and relevant to current celebrations.
Make Unique Table Centerpieces
Transform card strips into elegant rosettes and layered flowers by folding and rolling them into dimensional shapes. Secure these handmade blooms onto wooden dowels or decorative skewers, then arrange them in small vases or vintage containers for stunning centerpieces.
Mix different card textures and colors to create bouquets that reflect your wedding’s color palette while adding personal touches to dining tables and home office spaces. We recommend grouping three to five card flowers per arrangement for balanced visual impact.
Create coordinating sets for multiple rooms by using cards from different guest categories or wedding events. These moveable centerpieces let you spread wedding memories throughout your home while maintaining a cohesive decorative theme that guests will admire and remember.
Craft Functional Items From Wedding Card Materials
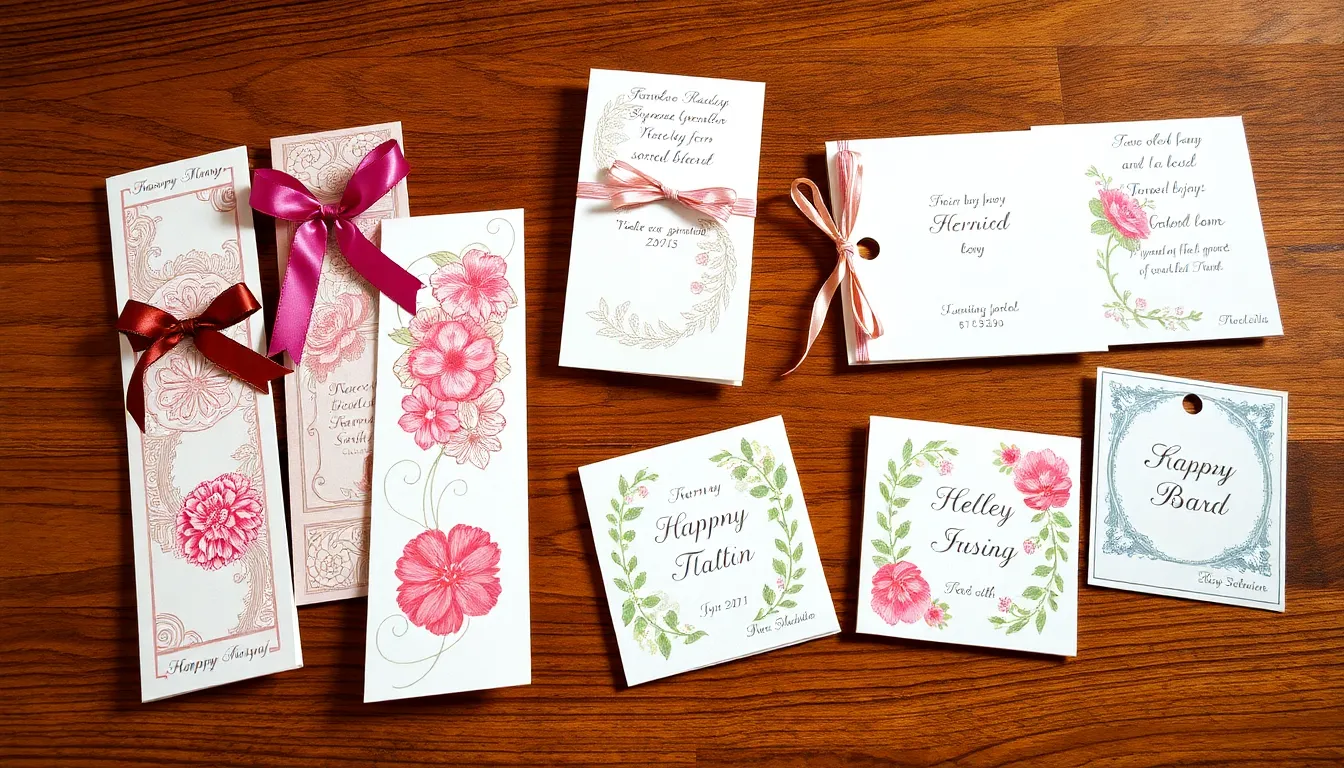
Transform your beautiful wedding cards into practical items you’ll use regularly while preserving those precious memories.
Design Custom Bookmarks From Card Fronts
Wedding card fronts make stunning bookmarks that’ll remind you of your special day every time you read. Cut the decorative fronts into traditional bookmark shapes, typically 2 by 6 inches, ensuring you capture the most beautiful design elements. Add a coordinating ribbon or tassel to the top using a hole punch for that professional finishing touch.
Consider laminating your bookmarks to protect them from wear and tear during regular use. We recommend selecting cards with the most vibrant colors or meaningful messages from close family members. Create multiple bookmarks to give as gifts to your wedding party or keep several around your home for different books.
Create Personalized Coasters and Placemats
Wedding cards transform into elegant coasters that protect your furniture while showcasing your wedding memories. Cut cards into 4-inch squares or circular shapes, then laminate them for water resistance and durability. Multiple cards can be arranged into a beautiful collage pattern for larger placemats.
Mix and match different card designs to create coordinating sets that complement your home decor. We suggest using cards with similar color schemes or grouping them by sender for themed coaster sets. Add felt backing to prevent scratching on delicate surfaces, and consider creating seasonal rotations with different card combinations.
Make Gift Tags for Future Occasions
Wedding card decorative elements become unique gift tags that add personal touches to presents throughout the years. Cut out special messages, floral motifs, or decorative borders from your cards to create one-of-a-kind tags. Attach small ribbons or strings through punched holes for easy gift attachment.
Save particularly meaningful phrases or beautiful imagery from cards to use on anniversary gifts or special occasion presents. We recommend organizing cut elements by theme or color in small containers for easy access when wrapping gifts. These personalized tags carry forward the love and celebration from your wedding day into future special moments.
Preserve Wedding Cards Through Digital Methods
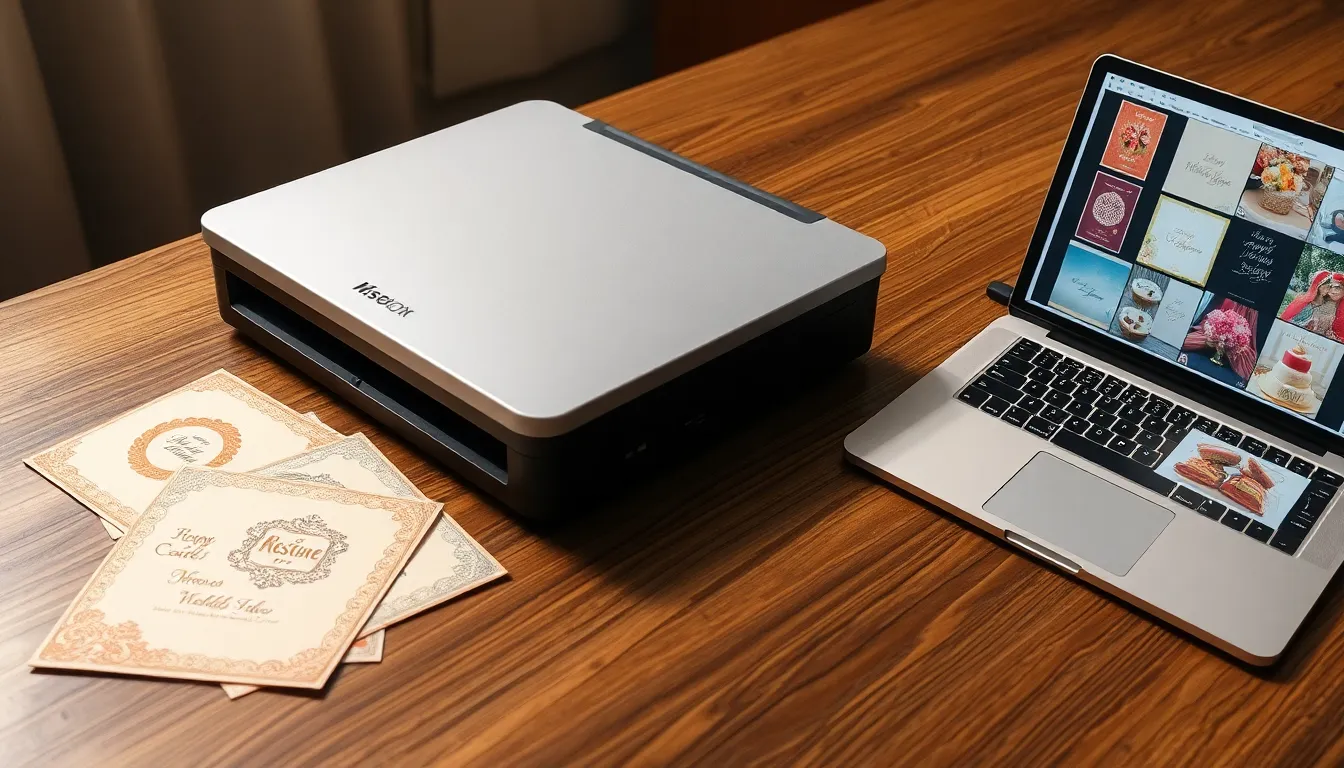
Digital preservation offers us a modern solution that protects our wedding cards while making them easily accessible for years to come.
Scan Cards for Digital Photo Albums
Scanning wedding cards creates high-quality digital copies that we can organize into themed photo albums on our computers or cloud storage. We’ll want to use a flatbed scanner set to at least 300 DPI resolution to capture all the intricate details and handwritten messages clearly. Professional scanning services like Cards by Artkive can transform our entire collection into a beautifully designed digital book that maintains the original layout and appearance.
Opening each card fully before scanning ensures we capture both the cover artwork and the personal messages inside. We can create separate digital folders for different card categories like family messages, friend notes, and funny cards to make browsing easier later.
Create Online Memory Galleries
Online platforms like Google Photos and Flickr allow us to upload our scanned wedding cards and create shareable digital galleries that family and friends can view anytime. These cloud-based answers provide automatic backup protection and let us add captions describing who sent each card or special memories associated with exact messages.
Creating albums with descriptive titles like “Wedding Day Wishes 2025” makes our digital collection searchable and organized. We can set privacy controls to keep our memories private or share exact albums with close family members who might enjoy revisiting the heartfelt messages.
Design Digital Slideshow Presentations
PowerPoint and Google Slides offer us creative ways to compile our scanned wedding cards into ever-changing slideshow presentations complete with music and transitions. We can arrange cards chronologically to tell the story of our wedding day or group them by themes like humor, heartfelt wishes, or family traditions.
Adding wedding photos between card images creates a comprehensive digital memory book that captures both the visual moments and written sentiments from our special day. These presentations make perfect anniversary viewing or can be displayed during future celebrations to share our wedding memories with new friends and family members.
Transform Wedding Cards Into Keepsake Quilts
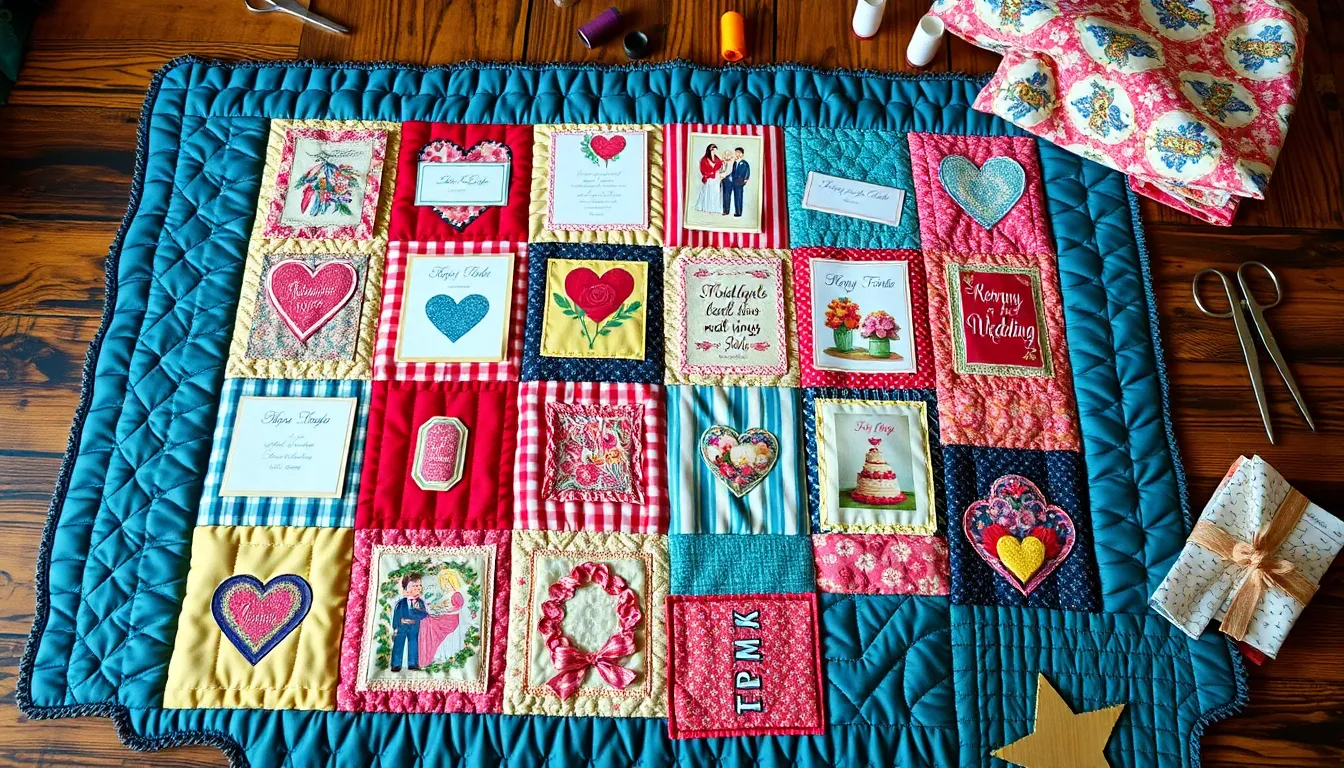
Wedding cards can become the foundation for a stunning memory quilt that combines traditional quilting techniques with personal wedding mementos. We’ll transform these cherished messages into a functional work of art that preserves both the visual beauty and heartfelt sentiments from our special day.
Cut Cards Into Fabric-Backed Patches
Select the most meaningful cards from our collection to feature prominently in the quilt design. Cards with beautiful artwork, handwritten messages, or signatures from special guests work exceptionally well as focal points.
Measure and cut each card into uniform shapes like squares or rectangles, keeping important text and images intact. Standard 6-inch or 8-inch squares provide adequate space for most card designs while maintaining readability.
Apply fabric backing using interfacing or cotton fabric to strengthen each card patch and prevent tearing during the quilting process. Iron-on interfacing creates the strongest bond and adds necessary durability for handling.
Trim excess backing material to match the card edges perfectly, ensuring clean lines that’ll sew together seamlessly. Sharp fabric scissors prevent fraying and create professional-looking patch edges.
Design Memory Quilt Layouts
Arrange patches on a flat surface before sewing to visualize the final quilt design and ensure balanced color distribution. We can experiment with different configurations until we find the most pleasing arrangement.
Create themed sections within the quilt by grouping cards from family members, college friends, or work colleagues together. This organization tells the story of different relationships and creates visual interest through varied groupings.
Plan the quilt dimensions based on intended use, whether it’s a wall hanging, lap quilt, or full-size bedcover. A 40×60 inch quilt typically accommodates 24 card patches with coordinating fabric borders.
Design connecting borders using wedding colors or meaningful fabrics like pieces from the wedding dress or ceremony decorations. These borders create visual flow between card patches and reinforce the wedding theme throughout the quilt.
Incorporate Card Messages Into Stitching
Embroider special messages directly onto fabric borders using embroidery floss in wedding colors to highlight particularly meaningful quotes or well-wishes. Hand stitching adds personal touches that machine embroidery can’t replicate.
Use decorative stitching patterns around card patches to frame important messages and draw attention to exact cards. Blanket stitches, running stitches, or cross-stitches create beautiful borders that complement the card designs.
Add the wedding date and couple’s names using decorative lettering techniques in a prominent corner or center panel of the quilt. This personalization clearly identifies the quilt as a wedding keepsake for future generations.
Include small fabric labels with the names of card senders near their respective patches when space allows. These labels help preserve the connection between exact well-wishers and their messages for years to come.
Create Anniversary Tradition Items From Wedding Cards
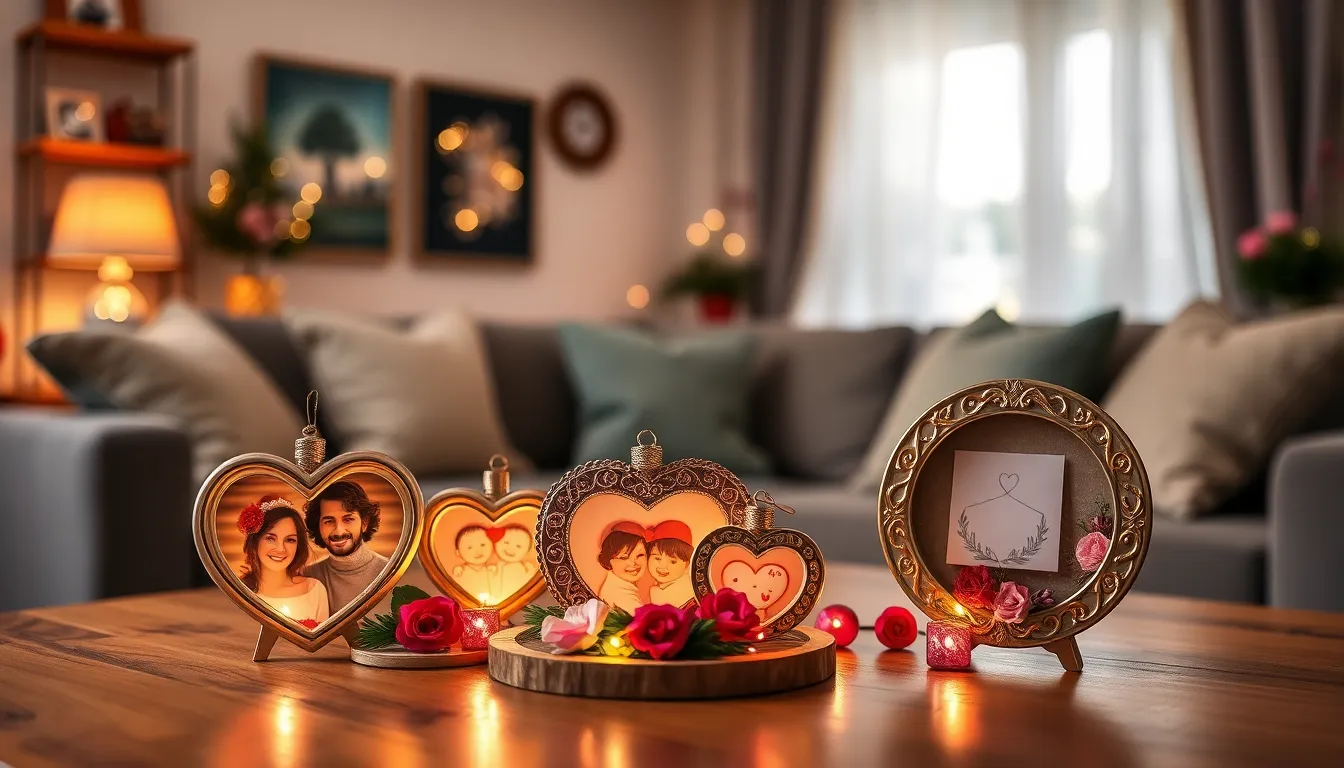
Transform your collection of wedding cards into meaningful anniversary traditions that celebrate your journey together year after year. Building these special customs helps us honor our wedding memories while creating new ones with each passing anniversary.
Make Annual Memory Ornaments
Select one favorite wedding card each year to transform into a beautiful memory ornament for your anniversary celebration. We recommend photographing the card’s most meaningful message or design element and placing it inside a decorative photo frame ornament. Create stores offer various ornament shapes including hearts, circles, and elegant frames that perfectly showcase card excerpts.
Choose cards with particularly touching messages or beautiful artwork to feature in your annual ornament collection. We’ve found that quotes about love, marriage advice from family members, and cards with special significance create the most impactful ornaments. Display these ornaments on a special anniversary tree or incorporate them into your holiday decorations to remind you of your wedding day throughout the year.
Create a storage system for your growing ornament collection by using a dedicated ornament box with individual compartments. Label each ornament with the anniversary year to track your collection’s growth and easily locate exact years when you want to reminisce.
Design Anniversary Card Collections
Organize your wedding cards into themed collections that you can expand each anniversary with new additions. We suggest creating categories such as family cards, friend cards, and advice cards to make browsing more meaningful during anniversary celebrations. Add a new handwritten card to each collection every year, documenting your thoughts about marriage, memorable moments from the past year, and hopes for the future.
Store these collections in beautiful albums or boxes that can accommodate growth over time. Post bound photo albums work exceptionally well because they allow you to add pages as your collection expands. Include dividers between years to create a timeline effect that shows how your marriage has evolved.
Write anniversary reflection cards each year that complement your original wedding cards. These personal additions create a dialogue between your wedding day feelings and your current perspectives on marriage, making your collection a living document of your relationship’s journey.
Create Milestone Celebration Displays
Design special displays for important anniversary milestones like your 5th, 10th, or 25th anniversaries that feature both original wedding cards and anniversary memorabilia. We recommend using shadow boxes or large picture frames to create themed displays that tell the story of your marriage journey. Include wedding cards alongside anniversary cards, photos from each year, and small mementos that represent important moments.
Arrange milestone displays chronologically to show the progression of your relationship from wedding day to present. Feature cards with marriage advice that proved meaningful over the years, alongside new items like anniversary trip souvenirs or photos of major life events. These displays serve as conversation starters during anniversary parties and family gatherings.
Update your milestone displays with each major anniversary by adding new elements while keeping the original wedding cards as anchor pieces. Create a rotating display system where you can swap out certain elements while maintaining the core wedding card foundation, ensuring your display stays fresh and relevant to your current life stage.
Conclusion
Your wedding cards don’t have to collect dust in a box somewhere. We’ve shown you countless ways to transform these heartfelt messages into beautiful keepsakes that’ll remind you of your special day for years to come.
Whether you’re crafting a memory book creating digital galleries or designing anniversary traditions there’s a perfect solution that matches your style and skill level. The key is choosing methods that resonate with you as a couple.
These preservation ideas help you honor your guests’ thoughtful words while creating something uniquely yours. Start with one approach that excites you most and build from there – your future selves will thank you for taking the time to preserve these precious memories.
Frequently Asked Questions
What should I do with my wedding cards after the wedding?
You have several creative options for preserving wedding cards as meaningful keepsakes. Consider creating a memory book, displaying them in shadow boxes or frames, repurposing them into home decor, digitizing them for easy access, or even transforming them into a keepsake quilt. The key is choosing a method that honors your guests’ sentiments while creating lasting memories.
How can I create a memory book from my wedding cards?
Start by sorting cards into categories or chronological order. Use acid-free pages to prevent damage and create themed sections by card type. Include personal notes about your wedding day memories, add small pockets for loose items, and consider incorporating QR codes that link to digital photos or videos from your special day.
What are some creative ways to display wedding cards?
Popular display options include multi-card shadow boxes that showcase several cards together, individual framing for particularly meaningful messages, and rotating display cases that allow you to showcase your entire collection. You can also create wall art collages, decorative garlands, or use cards as unique table centerpieces throughout your home.
How can I repurpose wedding cards into functional items?
Transform wedding cards into practical keepsakes like custom bookmarks, decorative coasters, or personalized gift tags for future occasions. You can also create wall art by arranging cards in artistic patterns, or incorporate card elements into other craft projects that serve both decorative and functional purposes in your daily life.
Should I digitize my wedding cards?
Yes, digitizing wedding cards is an excellent way to preserve them while making them easily accessible. Scan cards to create high-quality digital copies, organize them into themed photo albums, and use online platforms like Google Photos to create shareable galleries. This method protects against physical damage while allowing easy sharing with family.
Can I turn wedding cards into a quilt?
Absolutely! Wedding card quilts combine traditional quilting techniques with personal mementos. Cut selected cards into fabric-backed patches, design a meaningful layout, and incorporate card messages into the stitching. This creates a functional work of art that preserves both visual beauty and heartfelt sentiments from your wedding day.
How can I use wedding cards to create anniversary traditions?
Create annual memory ornaments by selecting a favorite card each year to transform into a decoration. Organize cards into themed collections that expand each anniversary, write reflection cards documenting your evolving marriage perspectives, and design milestone celebration displays featuring original cards alongside new anniversary memorabilia to honor your ongoing love story.


